How do I use the Canopy Air Purifier?Updated 4 months ago
The air quality in your home can change throughout the day depending on what’s happening, from cooking in the kitchen to burning candles or even just opening the windows.
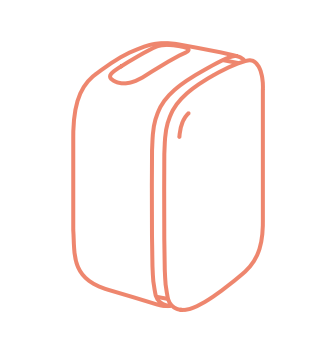
Air enters the Canopy Air Purifier through the sides of the unit, around the faceplate, and passes through a multi-stage filter that helps capture airborne particles.
Depending on how you position the device, clean air is released either upward or sideways though the outtake vent near the device's handle.
The Air Quality Monitor light will adjust as the air quality in your room adjusts Red for poor quality, Yellow for medium, and Green for great!
This light will remain dim most of the time to keep from distracting or taking up power, but will light up when there's a change to the air quality. You can check the Air Quality level of you room by taping any of the control buttons.
A soft backlight adds a calming, sleep-friendly glow, and the built-in aroma slot holds your Felt Aroma Diffuser to spread Canopy’s signature scents, turning clean air into a full sensory experience.
For the most effective filtration, use Auto mode. The air sensor will automatically adjust fan speed throughout the day for optimal cleaning, while the light sensor activates Sleep Safe mode at night to keep the fan at a consistent speed to keep from disturbing you while you sleep.
To get started:
Choose a spot at least 6 inches from walls or furniture for best airflow, make sure there is enough air circulation around the Air Purifier and that the vents are not blocked or obstructed. Avoid placing on soft or uneven surfaces like beds.
Place the unit on a firm, flat surface near a power outlet, either upright or face-up (either way with the rubber legs pointed down).
Upright:
Face-Up:
Plug in the included power adapter. Do not use with extension cords or power strips.
Tap the power button to turn on.
Learn more about your Canopy Air Purifier in the User Manual here.